Stitching 3D Images
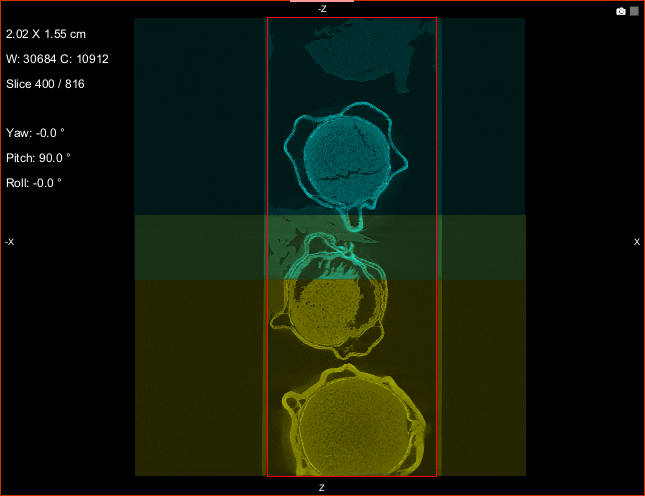
The Stitch 3D Images feature lets you combine, or stitch, multiple volumetric datasets acquired from different modalities or from the same modality with an overlap into a single 3D dataset. The example below shows the Stitch 3D Images box that defines the volume of the new dataset that will be created when the top dataset (shown in cyan) is stitched to the bottom dataset (shown in yellow).
2D view of 3D images prepared for stitching
- Load all of the datasets that you plan to stitch.
- Preview the datasets in the same scene and in multiple orientations, recommended.
- If required, adjust the position of one or more of the datasets that you plan to stitch so that any overlapped area is properly aligned.
You can use the tools on the Translate/Rotate panel to manually translate or rotate a dataset (see Registering Images Manually) or you can automatically register datasets with Dragonfly's feature-based registration workflows (see Applying Rigid Registrations).
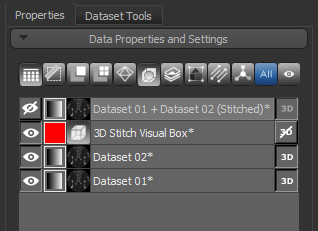
- Select all of the datasets you plan to stitch in the Data Properties and Settings panel, right click, and then choose Stitch 3D Images in the pop-up menu.
The Stitch 3D Images dialog appears. In addition, a Stitch 3D Image box, which is created large enough to encapsulate all of the selected channels, automatically appears in the current scene views.
Note If required, you can also drag a dataset from the Data Properties and Settings panel to the Stitch 3D Images dialog.
- Adjust the size of the Stitch 3D Images box, if required.
You can edit the size of the box and its position in any 2D view or in the 3D view by simply dragging the available control points (see Editing Shapes).
Click the Reset Box button to reset the box to its original size, which should encapsulate all of the datasets you selected for stitching.
- Choose the settings that you want to apply to the output dataset, as described in Settings.
Out-of-bounds-value… If required, select the data value that will be assigned to voxels that do not intersect with the datasets selected for merging, but that are included within the Stitch 3D Image box.
Blending… Choose a blending method for overlapped areas — Max, Mean, Min, No blending, or Weighted — as required. In most cases, Weighted can provide the best results.
Interpolation… Choose an interpolation method — Nearest, Linear, or Tricubic — as required.
Resolution… Choose a resolution — Most precise, User defined voxel size, or User defined matrix — as required.
- Click the Stitch button.
A new stitched dataset appears in the Data Properties and Settings panel.